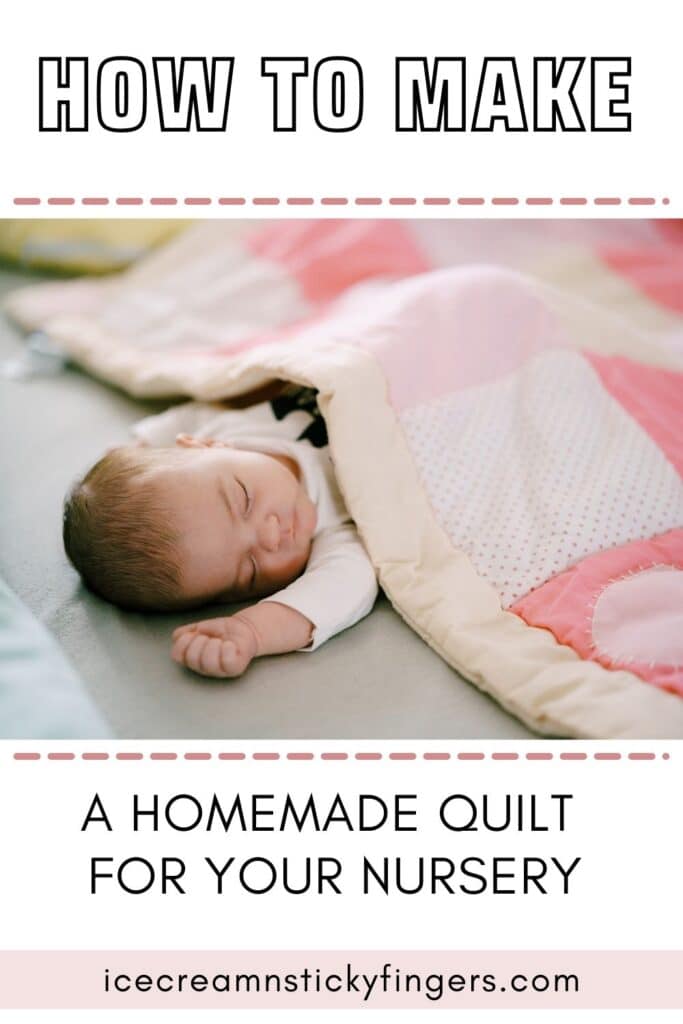
Have you ever thought about how to make a homemade quilt for your nursery? Quilting a blanket for your baby’s nursery is a rewarding project that combines practicality with heartfelt sentiment. A homemade quilt is not just a way to make sure your child feels cozy; it becomes a cherished keepsake they may treasure for years.
This post provides all the basic steps and tips for making a homemade quilt for your nursery, including finding fabrics, assembling your materials, and incorporating beautiful machine embroidery to make your design truly one-of-a-kind.
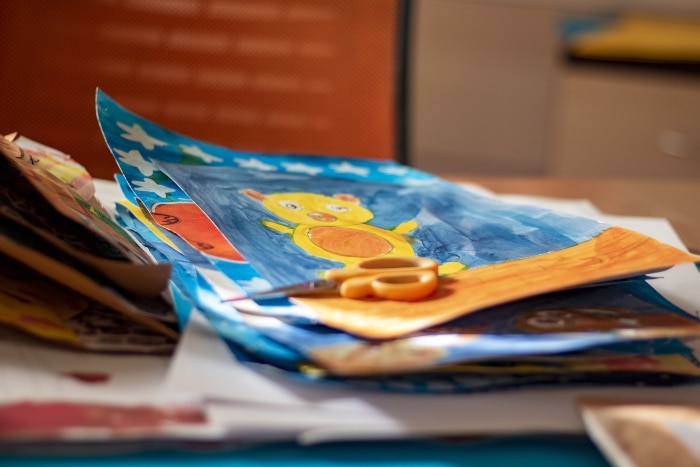
Choose Delicate Fabrics for Babies
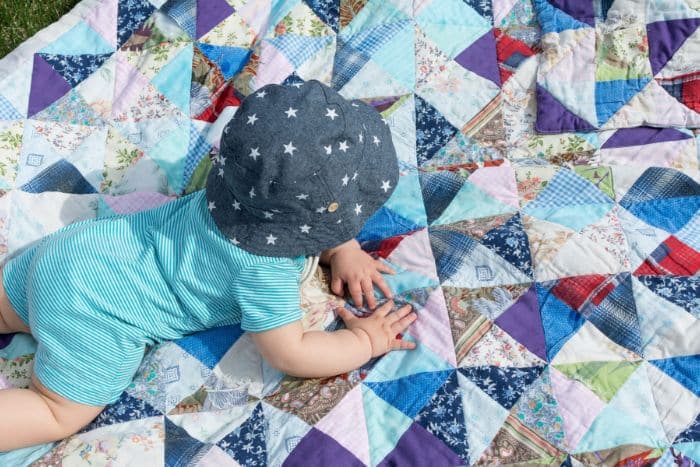
Your fabric choice determines the quilt’s feel, durability, and visual appeal. Select soft, washable materials that are gentle against delicate skin, such as cotton or flannel. Choose colors and patterns that complement the theme of your nursery. Soft pastels and subtle prints are timeless for baby quilts, but you might prefer bold geometric designs or fabrics featuring whimsical animal motifs.
Avoid fabrics with harsh textures or potentially unsafe elements like glitter or loose embellishments. These could irritate a baby’s soft skin and potentially be choking hazards.
Prepare the Quilt Design and Layout
Before you start stitching, plan the design and layout of your quilt. Sketch out your pattern, whether it’s a simple patchwork design or something more intricate. Decide on the measurements for each section of your quilt to keep the design evenly balanced. Precision is key to a neat, polished final appearance.
Machine embroidery is a wonderful way to customize your design. You can create a quilt that feels entirely unique by adding your baby’s initials, name, or even an embroidered motif like a star or heart. Many sewing machines have built-in embroidery options, so explore these features if you’re new to this technique.

Assemble and Stitch Your Quilt
Once you’ve finalized the fabric and design, begin piecing together the quilt top, stitching each piece precisely to avoid uneven sections. Pin the pieces first so everything aligns perfectly before sewing. Use high-quality thread that matches the quilt design. After assembling the quilt top, layer it with the batting and the backing fabric. This layering provides durability and warmth, making the quilt as functional as it is beautiful.
One of the benefits of using machine embroidery for quilting is that it allows you to retain clean lines and stitches, especially if you’re a beginner. It’s easier and quicker than hand quilting yet still results in a professional-looking finish. Machine quilting also allows you to add patterns through stitching, such as wavy lines or grids.
Add Finishing Touches
Attach the binding as the final element to seal and finish the edges of your quilt. This often-overlooked step can be a chance to add a pop of contrasting or coordinating color. Be sure to stitch carefully, as the edges will see a lot of wear over time.
Creating a beautiful quilt for your little one is a meaningful way to welcome them into the world. With these steps for making a homemade quilt for your nursery, you can combine your creativity with basic quilting techniques to produce something extraordinary. Remember, a homemade quilt for your nursery doesn’t have to be overly complicated or perfect—it just needs to be made with love.