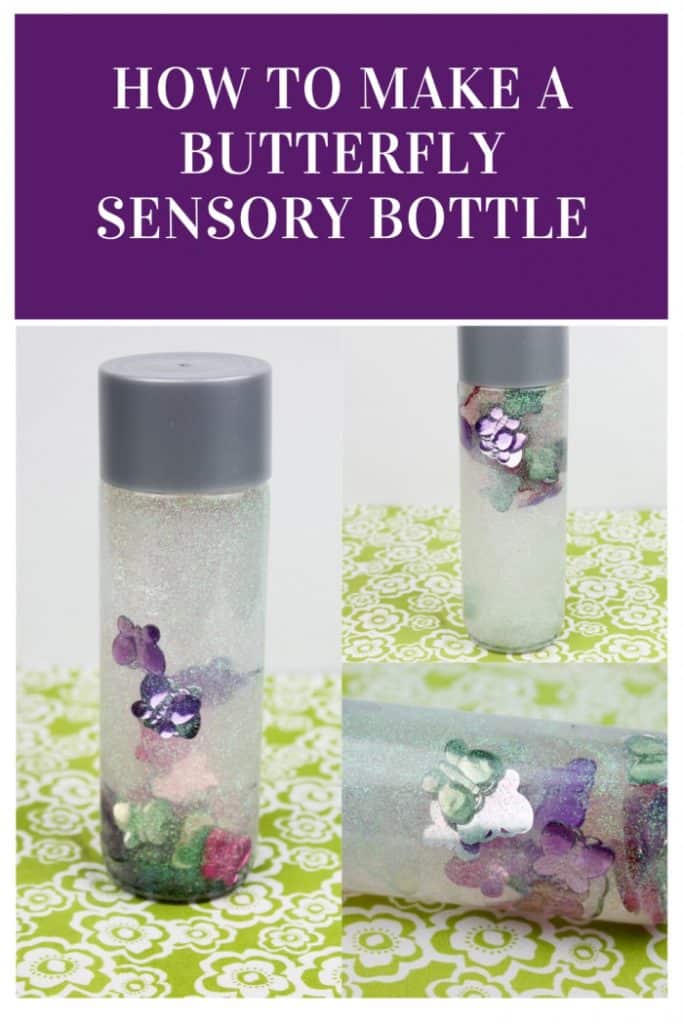
Have you ever made a butterfly sensory bottle? Sensory bottles are a great way for your child to experience a non-messy way to play. The elements inside of the bottle can help trigger your child’s senses and allow them to experience things with their hands. As they move the bottle in their hands, they can see how the items circulate and mix within the bottle. Had you done this experiment in a bowl, you would have had a huge mess on your hands. However, inside of the bottle, the mess is contained. Just be careful if you use a bottle that is made of glass instead of plastic.
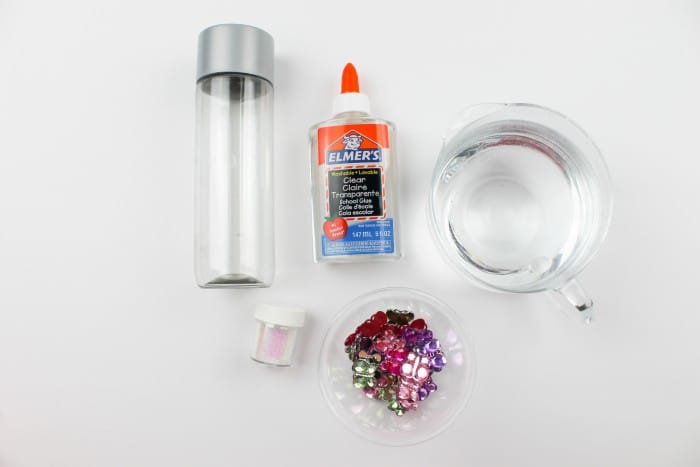
Supplies Needed to Make a Butterfly Sensory Bottle

12 oz. Sensory Bottle (aff link)
1 5 oz. bottle of Elmer’s Clear Glue (aff link)
1 tbsp Iridescent Glitter
water
Directions on How to Make a Butterfly Sensory Bottle

Pour glue into the bottle.

Add glitter.
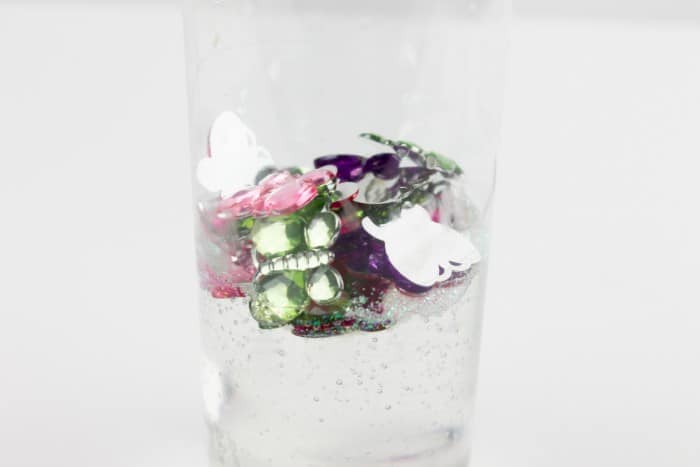
Next, add your butterfly gems.
Pour warm water into the bottle until it is full.

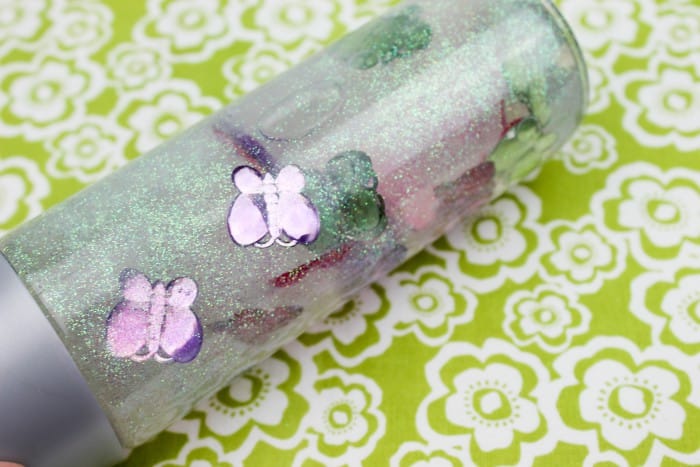
Close the bottle well and shake the contents of the bottle until all contents are mixed together well.
Sensory bottles are a great way to help relax and calm your child. As they explore the items with their hands, they can easily see how the items mix within the bottle. These bottles aren’t only for play, as I mentioned above, you can allow your child to use them to calm down when they are faced with anxiety. Your child can shake the bottle softly or vigorously (use extreme caution if it is made of glass) and watch the contents inside.